
My latest scheme to date was to make shelves for my boys' brand new bunk bed. They were so excited about the idea of getting a bunk bed that could be "customized" that they kept asking, "When are we going to get our bunk bed!?!" Soon after it arrived and was set up, I suggested shelves before doing the rest of the "customizing". Weeks before, I had planted the idea that we could make it like a clubhouse and we could paint it with a favorite theme for each child. Of course, they jumped on board with that idea and anxiously waited while I devised a plan which almost didn't happen when they saw the metal bunk bed with the AT-AT fabric tent during the time we were shopping around for the bed. After some negotiations between parents and sons, we finally all agreed on the simple wooden frame bunk bed we initially saw at Chubby's.
The shelf for the top bunk would be easy...it was the bottom bunk I was worried about. My first thought was to use brackets for the bottom bunk's shelf. My father-in-law was against that idea. He didn't want me to start drilling holes in the bed. I didn't like the idea either, even when I first thought of it, but, I didn't see any other way. Then I thought about making an extra rail just like the top bunk, but we couldn't find the metal hooks I wanted, so, I found myself back at square one.
I didn't want to wait any longer, so I decided to go ahead and start on the top bunk's shelf. After measuring the two shelves' lengths, I found that I would have enough wood left to use as "legs" for the bottom bunk's shelf.
I started with a board that measured 12"x 8', a can of spray adhesive, printed cotton fabric measuring about 45" x 15", small brackets (originally for mini blinds...I am in the habit of making use of items I have on hand).
I measured both of my shelves out to 43". I don't have those work horses, so again, I have to improvise by using whatever I have around my garage like: storage bins and old wooden chairs.
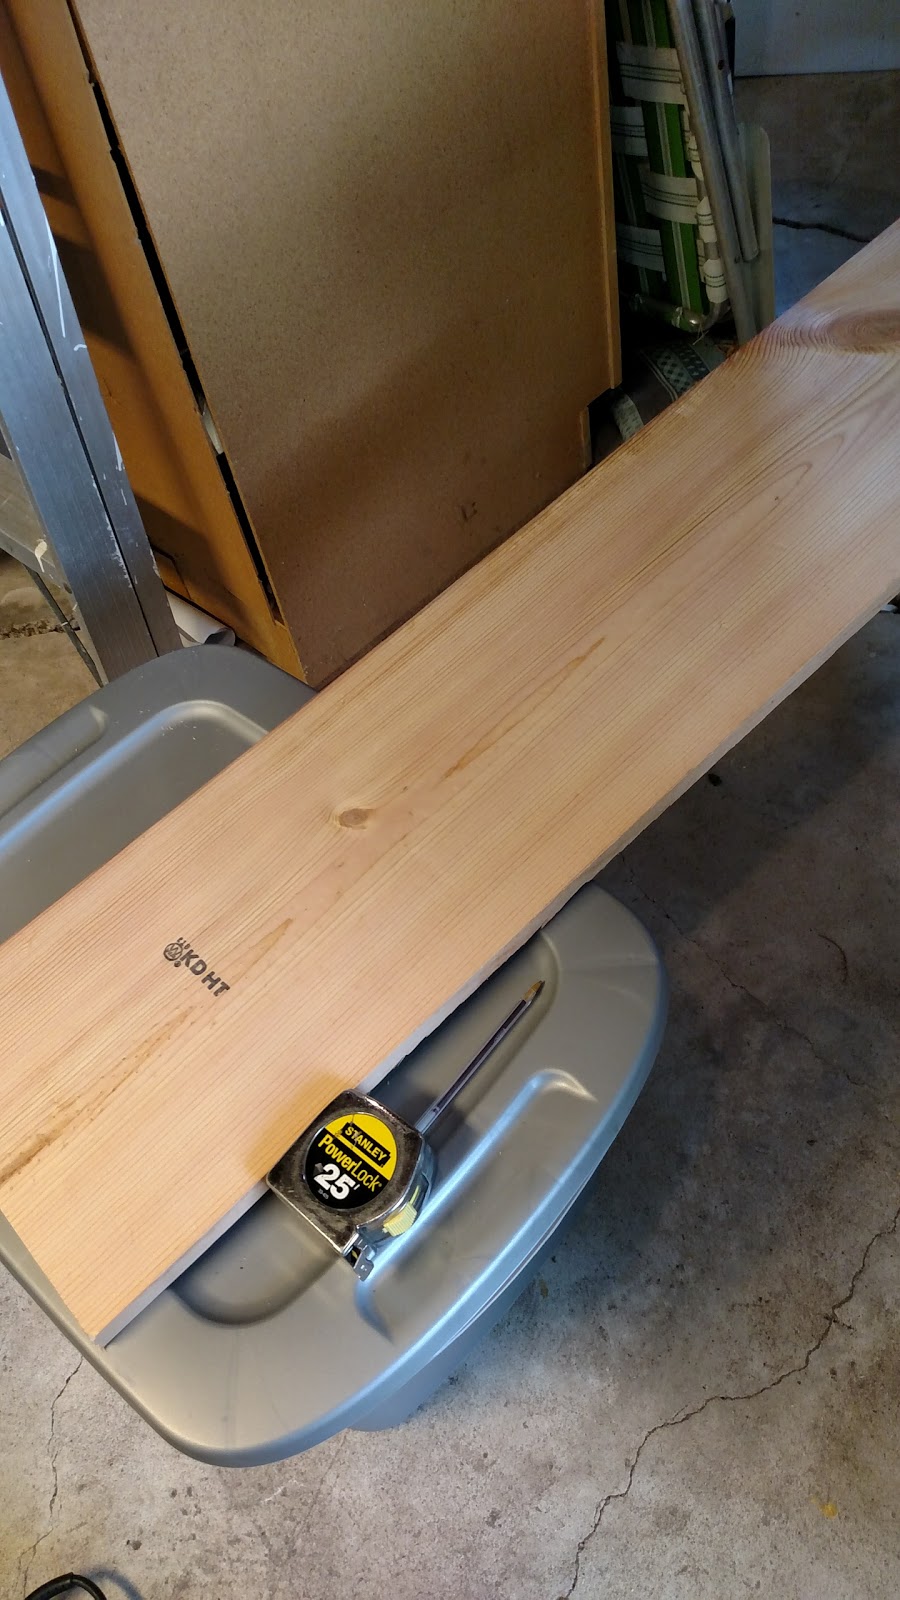

I measured out my 43" and used my quilter's ruler to draw the line

Another thing I like to do is measure another line as a guide for the saw. I place my saw where I am going to cut and then I use my quilter's ruler to draw the guide line in pencil.

Here is the top view.


Once the cutting is done, the next important step is to have your freshly cut shelf pass inspection....performed by your overqualified cat.

These brackets are the metal ones that come in the setup packages of your common mini blinds. We have plenty of them lying around since we just replace the blinds and not the attachments. As you can see, I hammered them into an "L" shape so that I could screw them into my shelf. The purpose is to keep the shelf from shifting and slipping off of the rails.

I had about a yard of this "Cars" fabric in my stash, so I cut mine at around 14" from my "bolt" and kept the length the same. I didn't cut a straight edge on the other side because I wanted to make sure it would wrap around the edge of the shelf. I also did not want to use any more fabric than was necessary, but, it's totally up to you if you want your fabric to wrap around the whole shelf or not.

The next step is to make sure your board is free from sawdust. I had sanded down all of the rough edges right after I had cut my lengths. You want your board to be clean for your spray adhesive to work. Spray all over the top area and place your fabric lightly on the board. adjust your placement and smooth it out. Spray the sides, being careful to not spray on the printed side of your fabric.

Fold your fabric in just as you would if you were wrapping a gift. This is where the adhesive REALLY helps.
Once again, smooth over the surface and work out any lumps from wrinkled fabric.

This is how my shelf looked. Once I saw that everything was placed right, I nailed in the sides. Here, I made a mistake and should have readjusted my fabric to cover this side since it was the one that would be visible, but I didn't think of it until I had already nailed the opposite end and I was running out of time since it was to be a surprise for my sons who were on their way home from a short trip to the valley with their grandparents.

Here is the bottom view of my shelf. You can choose to seal your fabric with polyurethane at this point. If you do, Follow the instructions for drying time.

Right here, I nailed my fabric in place with the shortest nails I could find to tack the fabric in place. I chose not to use any liquid sealant or adhesive. I wanted the fabric texture since this whelf was going to be used for my son's laptop and it served as a great surface for the mouse to be placed anywhere.

I screwed two of my homemade brackets in place on one side and set the shelf in place to see where the other set would fit snuggly. I drew a guide line around my brackets and then screwed those in place. And here is how the shelf looks now that it is done.

For the second shelf, instead of making rails for the shelf to lay across, I used the leftover piece of wood leftover from my first two cuts. Thankfully, I had enough length left to cut in half and use as side panels which I screwed into the shelf. The side panels fit snuggly in place right on the inside of the bed frame.
The only thing lacking in this part of my project was a themed fabric, because I wanted to wait to find out if he wanted the Cars print, or something else.

The next day, we went to see the Power Rangers movie and that's just what he chose.

This actually gives me an idea for another project: a low bench with shoe storage underneath for the boys to sit on when they are struggling to put on their shoes!

Comments
Post a Comment