

A few weeks ago, my husband's co-worker requested an order for a custom made pillow of "Game of Thrones". I have never been interested in watching those types of shows, so, I had to do a little research on good ol' Google. Once I found out a bit more about the show, I came up with different ideas on how to design the pillow.
After one more quick text to find out which clan or team was her favorite, I had a better idea on how I wanted the pillow to turn out.
I had a few different ways I could go, but chose to try a stenciled style since I wanted a larger image and was a bit tight on cash at the moment. I saved a picture of the Stark Wolf crest and fine tuned the colors in a Paint program. I will include a link for my finished transfer image at the bottom.
For this project, you will need a sewing machine, printer, thread in either green or beige or both colors, half a yard of the green and half a yard of beige fabric, polyfil, fusible interfacing, transfer paper (I will include a link for a great DIY that I used), fabric paint in black and dark gray (I used McMenta Stencil Fabric Paint from Hobby Lobby), paintbrushes (I used three different sizes from a pack of mixed brushes from Hobby Lobby), and and iron.

Iron and pre-wash (if you desire) your fabric before you measure and cut. I cut the back panel first at 18" x 18" and placed it aside for later.

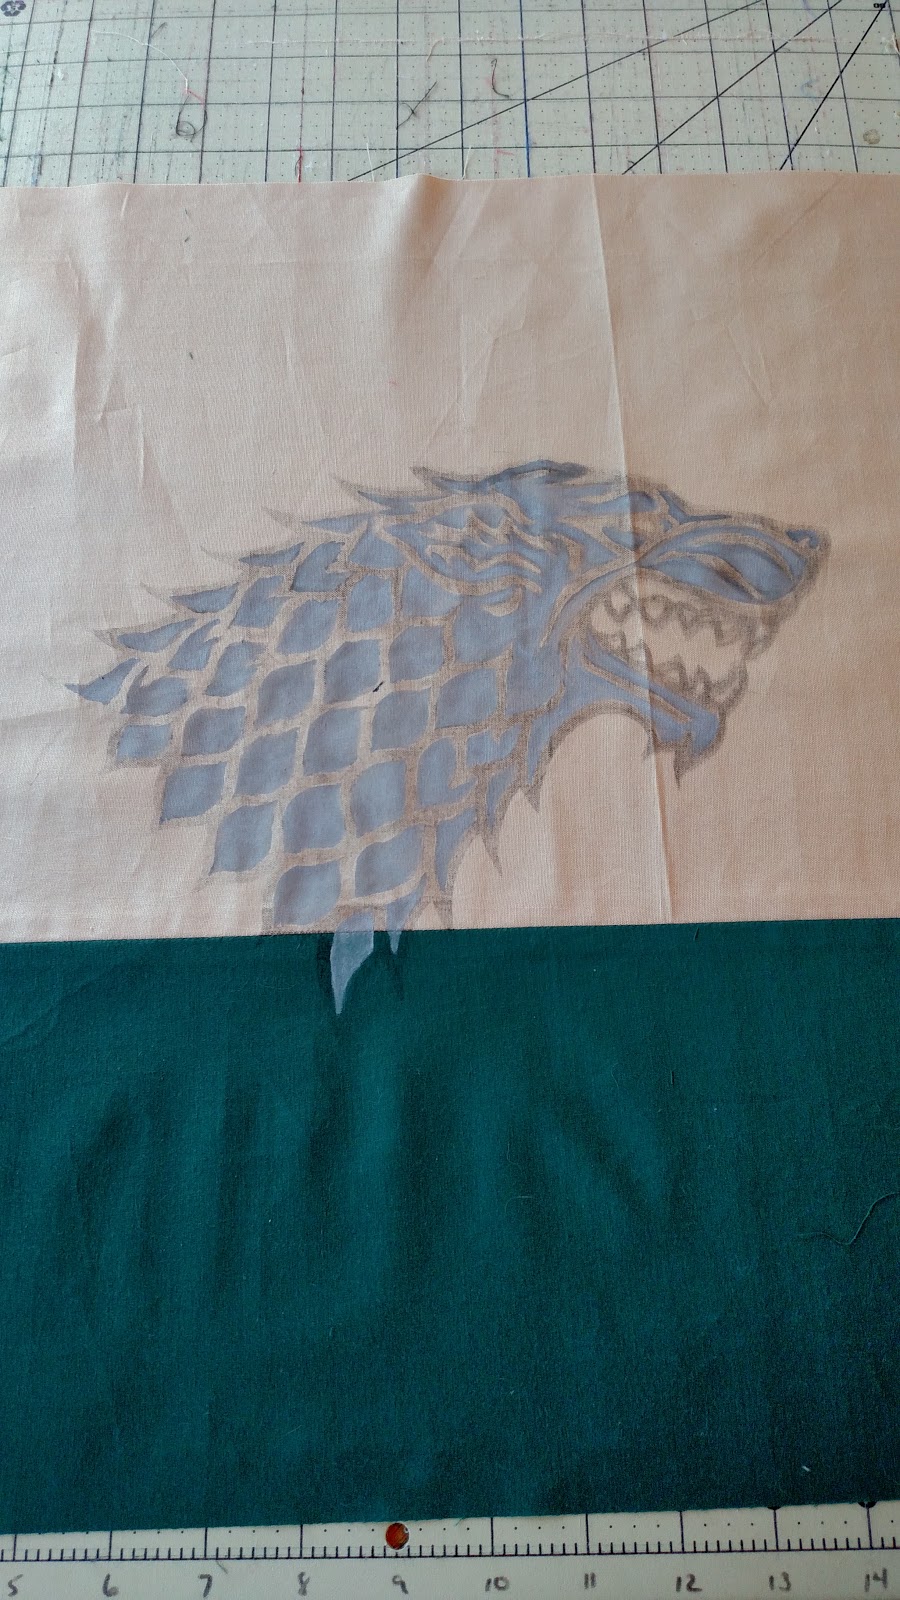
The remaining green fabric was then pinned and sewn to the beige fabric since I did not want to waste ANY fabric and needed to find out where the center of the panel would be. My cat Shay decided to peek in on my work.


Now, fold your image in half (from top to bottom) to indicate the middle of your image. This is important for correct pillow size, so don't skip this step, otherwise, your cut will be too low. Set your image back in place as shown in picture.


You will measure and mark your next cut lines from the CENTER fold line (where the Wolf's chin is) up 9". Do the same for the bottom cut.

Be careful to measure starting from your center fold and NOT from the seam fold at the bottom part of the neck.
There, you will have your front panel ready for the transfer. Don't throw away your paper image. It will come in handy as a reference if the ink is light in some areas on your fabric.

On the back of your DIY transfer paper (non-waxy side), mark your seam lines and your center line before printing image. Place the waxy side down in paper tray and print your image. While the ink is still wet, line up your bottom line with the seam line. Slowly and CAREFULLY place image down on your front panel fabric and press and rub the back of the transfer image into the fabric using your hands. This part is a little tricky, so work carefully to keep your image from shifting.

I wound up moving my fabric slightly which caused a double image on the face; however, I was able to work with my mistake during the painting process.

Next, you are ready to paint. You can either start with your black stencil paint and fill in the gray later, or vice versa.

I started with the gray first and worked on the neck, then moved on to the head. I allowed the fabric paint to set overnight before moving on to the black outline.


The paint is supposed to be allowed 24 hours to dry before ironing on high heat for 1 minute. I ironed it twice on the back side, and then on the front. I used some spare fabric to cover the front as I ironed to avoid any paint being stuck to my iron.
Next, place your fabric on your fusible interfacing (or whatever pillow lining you prefer) and cut the size you need.
Do the same for the other panel and then iron the lining in place on both panels.
You don't really need to have it measured perfectly, I suggest your cut allows for a little extra to ensure your fabric is not short of lining due to shifting.

Place both panels together with your image facing toward the back panel, pin together and you are ready to sew.

I usually leave an opening at the bottom seam about 3 or 4 inches wide for stuffing.
I then cut off the excess liner and trimmed the corners.


Once you are done, turn the pillow right side out, paying attention to the corners.


Your cat may choose to oversee your quality of work as you fill your pillow with desired amount of Polyfil or whatever type of stuffing you prefer.
And finally, close the seam either by hand, or by sewing machine. I prefer hand stitching.

And there is your finished custom made "Game of Thrones Stark" throw pillow!

I hope you enjoyed my instructional. This was the first time I used DIY transfer paper and Fabric Stencil Paint and I was very pleased with the result. I am likely to add more Fabric Stencil Paint to my collection since I had many ideas pop up while I was working on this.
Comments
Post a Comment